Showing posts with label tomato. Show all posts

Friday, 5 April 2013

My "Making Use of a Small Space" Garden

You're not always going to be able to live at a house that has land for you to establish your vegetable garden presence. So sometimes you just have to get creative, and use whatever space you can. Although I do have space for a vegetable garden, I do also have my patio/kitchen garden that I love.

I love it because I can look at it all the time if I want. I can easily pop out and get some vegetables, pick a couple of herbs to add to dinner, or even just easily water and tend it (as my main veggie garden is up a little hill). There is something so beautiful and creative about turning any little space you have into a garden. 

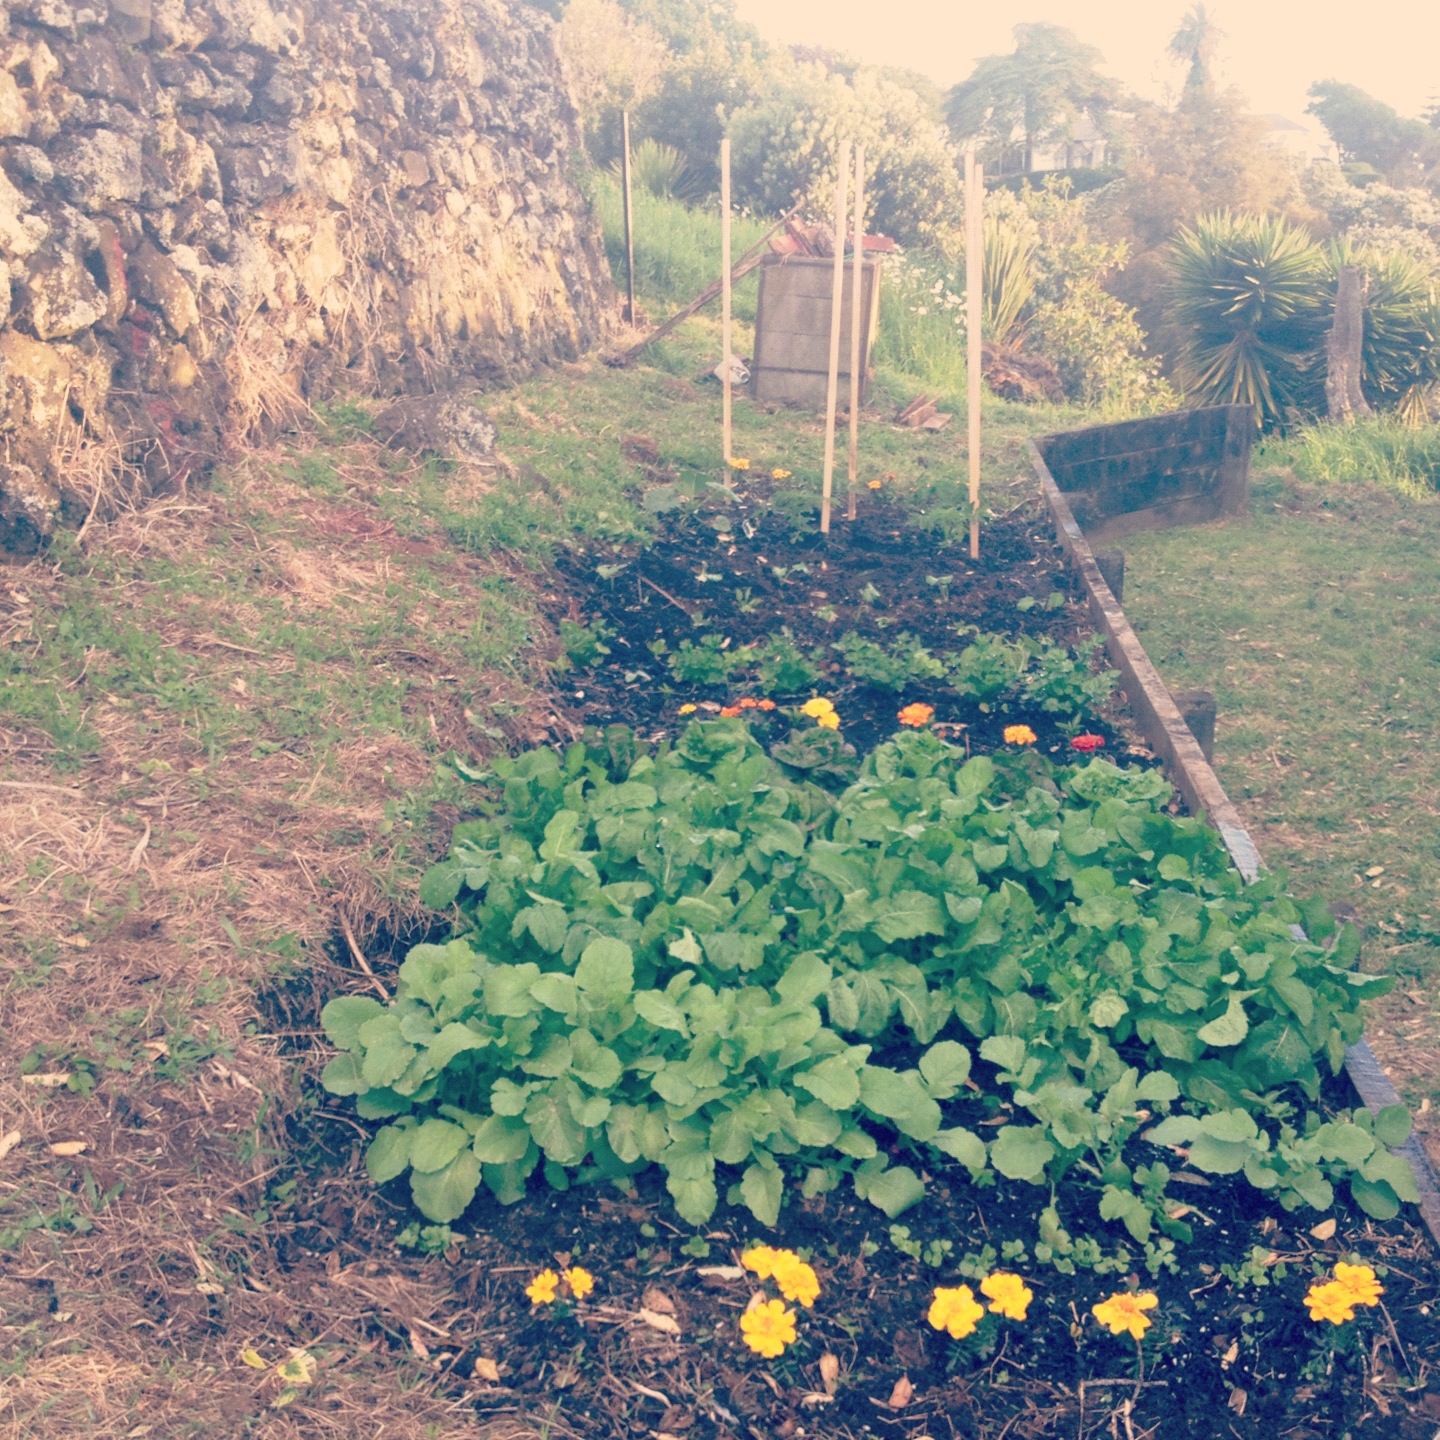
Have you heard of Guerilla Gardening? Google it. But basically, do it to your own place.

And I have some handy little tips to help you turn whatever dull, small, empty space into a thriving GARDEN.

Tip #1
Try to get some sunshine, (or light and warmth) onto your precious babies. This will help them to be the plants you dream they could be. Without getting technical, pretty much all plants need some light and warmth, so if you don't have the real stuff, then fake it some how!

Tip #2
Use whatever you can to plant in. This isn't really a tip, but I'm pretty much saying, you can make everything uniform in matching pots (very pretty), or you can mix and match whatever you have and whatever you can AFFORD. You may have heard the fancy term "repurposing". Its very fashionable and you can do it! I use mixes of old planter boxes, big plastic pots, little pots that some seedlings came in, as well as glass jars, little buckets, empty soup cans. You name it. If you can put soil in it, you can grow something in it. Go wild. And have fun. Just make sure there is some drainage (holes in the bottom).


Tip #3
Nourish your plants. As you will be planting in boxes or pots, your plants don't have the opportunity to gather nutrients from the surrounding soil as much as their counterparts out in the big wide world of the ground. This nourishment factor is so easy to over look, as we are so used to house plants, that you just water and leave, then water every so often. But your vegetables need your love. When you are planting your plants, use a really good quality organic soil or compost. As this will be the foundation for your plants long and healthy life. And make sure that they are being watered adequately, as often water can drain straight out the bottom of the plant, and not reach all the soil it needs to. And this leads to the next tip...

Tip #4
Feed your plants! Plant food, compost, whatever you want! BUT JUST FEED YOUR PLANTS! There isn't a lot of soil in those pots, and the plants need a lot of nutrients to grow! I like to use and organic (liquid) plant food, that I treat my plants to every one or two weeks depending on how well they are growing, or what they are (heavy fruiting plants need more than leafy plants). I grow strawberries on my patio, and I make sure that they get strawberry food (its a real thing!), as this helps them to grow, even in the small pots.


Tip #5
Plant things that you wouldn't plant in your big garden. For example, in my kitchen garden, I grow wheatgrass, because it works better in a tray, and its good for it to be nice and easy on hand. Get creative and think outside the (planter) box.


Tip #6
Plant "cut and come again" plants. These are plants that you literally take a couple of leaves off, and then you can come back to them again later and take a few more leaves off. You don't have to harvest the whole thing at once. In my small garden, I like to plant lettuces, spinach, kale and swiss chard, as they are fast growing, but they are also very handy and useful plants in terms of eating. 


Tip #7
Have a few flowers in your small potted garden. Having some flowers will help to attract the good bugs, and may even help to keep the bad ones away (depending on what you plant). It is very important to make sure that your little garden (or big) is getting pollinated, and if no bees do it, make sure that you do it for the plant (depending on what plant it is!) because that is important in the growing stage for some plants!

Tip #8
Move your plants around. For two reasons. The first reason is to create companion planting. Putting some plants next to others is a good thing (for example tomatoes and basil), they enhance one anothers flavour while growing, whereas putting tomato and cabbage next to one another is bad and stunts growth. So move those babies around to get the best possible growing happening. Secondly, move them around to get the best sunshine for the plant. If you are like me, your planting area isn't in the sun all the time, so move those babies around a couple of days a week so that they can soak up some nice rays. They will thank you for it in beautiful vegetables.


Tip #9
Start small, and increase. You don't need to have 50 pots of varying varieties of vegetables the first day of your garden. I started with two pots, and slowly but surely I kept adding and collecting, and now I have many random containers, and some random plants. If you start small, its easier for you to manage, and make sure that those vegetables are getting the love they deserve. Add a few more to your collection every couple of weeks or so. This leads to the final tip...

Tip #10
You can increase the container size if you want. Say you planted a tomato plant in a small pot, but now it seems that it is just getting too big for that pot, well never fear, buy a slightly bigger (or much bigger if you are super keen) container, and just move your little friend into a bigger home. Plants will only grow until their roots can't grow no more, so the bigger the space for roots, the bigger your plant will be. And once you've moved that plant into a bigger container, you have a spare container to start something else in. Its like the circle of life. Only different.

But most importantly HAVE FUN!! And remember, you are only limited by your imagination, so get out there are get creating your own little piece of vegetable paradise.

Tuesday, 12 March 2013

Homemade Sun(oven)dried Tomatoes

A few weeks ago, I picked a bumper crop of tomatoes (over 50)! That is a lot more than two people can handle. So I decided to make my own Roasted Tomato Pasta Sauce. And then much to my surprise, yesterday, I picked another 86 (!!!!) tomatoes from our garden! And one giant capsicum!


I decided that since we have enough pasta sauce to last us (and it can be bought really cheaply), that I wanted to make something that was different to what we normally have, and is a bit more expensive than we would normally like if we were to buy it from the store! So I looked at sundried tomatoes again. Last time I had an abundance of tomatoes I didn't want to make sundried (or oven in my case) tomatoes because of the bacterial risks involved in storing them in oil. But I discovered that sundried tomatoes can actually be frozen! So I'm going to give it a try! Here is my recipe for sundried tomatoes! (If you are going to make this, have at least 6 hours spare that you can have your oven on for!) 

Note: A lot of different people suggest that you need a certain type of tomato to sundry properly, but seriously, just use whatever you want and keep an eye on it. Adjusting the oven temperature to suit your tomatoes and your oven is key to getting a perfect oven dried tomato! So just play around and enjoy your tomatoes!

Homemade Sun(oven)dried Tomatoes

Ingredients:
Tomatoes
Salt
Oil
Dried herbs (basil, thyme, whatever you like!)

Method:
1. Wash all the tomatoes thoroughly and then slice in half from top to bottom.
2. Place cut side up on a baking tray. I used baking paper on my trays, but you don't have to if you don't want to. If you aren't going to use baking paper, then use a little cooking spray on the tray before you place the tomatoes down.


3. Season generously with salt and then leave for 20 minutes. During this time preheat the oven to 100C or 250F. You probably will adjust this temperature throughout cooking based on how the tomatoes look (eg starting to brown but still very juicy, turn heat down).
4. Place in oven for at least 4 hours. My two trays took 5 hours, and I rotated them half way through cooking. The idea is to cook them low and slow, so that the majority of the moisture evaporates from the tomatoes.
5. When the tomatoes are wrinkled and a lot smaller than they were at the start, take the trays out of the oven. You want as much water cooked off as possible without them burning.
6. While the tomatoes were still hot I drizzled them with olive oil and then the dried herbs (I used thyme). And then I left the trays to cool.
7. Once the tomatoes are cool, place in an airtight container and store in the fridge for up to a week, or if you want to freeze the tomatoes, place the trays in the freezer for 2 hours, and then once the tomatoes are frozen, transfer the tomatoes to freezer safe containers.
8. If you are freezing, making sure you write the date the tomatoes went into the freezer, as the tomatoes will last you several months.
9. To use the frozen tomatoes, take as many out as you need an hour before you need them and let them thaw out. Use them in sandwiches, pasta salads, or cooked dishes that require sundried tomatoes. They can basically be used just like normal sundried tomatoes!

YUM!!


I found that using my own homegrown tomatoes and oven drying them, that the flavour was very intense and very strong! It was quite different to other sundried tomatoes that I have tasted! I am so excited to have found a safe way to preserve sundried tomatoes and I hope that you enjoy them too!

Wednesday, 27 February 2013

Roasted Tomato Pasta Sauce TO FREEZE


After following this guide to growing awesome tomatoes you will end up with dozens of tomatoes! We have slowly been picking a few tomatoes over this past month as they start to ripen, but this week we had a bumper harvest where the majority of our tomatoes became big, juicy red fruits at the same time!


Like all good gardeners, we wanted nothing to go to waste. No tomato to sit too long in the fridge and become inedible. So I was looking at ways to preserve these beautiful rubies. Freezing whole tomatoes is a no-no. It destroys the flavour and the texture goes funny. Not nice. Sun-drying tomatoes is great, but I didn't have a dehydrator, we don't get hot enough temperatures in New Zealand, and I don't like the idea of leaving my oven on for up to 40 HOURS!! 

So, I decided that my best bet to preserve flavour not just the fruit, was to make a pasta sauce. And what better way to intensify tomato flavour than to roast them first! And the great thing about this sauce, is you don't need to stand over a hot pot for hours! You just need an oven and a food processor!

So here is my recipe for ROASTED TOMATO PASTA SAUCE

(from 45 normal sized tomatoes, I got 1.8L of pasta sauce!)

INGREDIENTS:
-tomatoes
-salt
-pepper
-oil
-crushed garlic


1. Wash all the tomatoes you have on hand. I had around 45 normal sized tomatoes. And preheat the oven to 160 degrees C (320F).
2. Slice the tomatoes in half and place cut side up on a baking tray. I had a couple of yellow cocktail tomatoes so I chucked those in too to roast.
3. Drizzle the tomatoes with oil - I used canola cos that was all I had, but olive oil can be used instead if thats what you have!
4. Season generously with salt and pepper.


5. Roast the tomatoes for half an hour, and after this time pour off all the liquid on the trays (there will be a lot).
6. Return to the oven for another 5 minutes just to get a bit more colour on the tomatoes, as this will be more flavour!!


7. Brush the tomatoes with crushed garlic so that there is a little bit on each one.
8. Wait for the tomatoes to cool for about 20 minutes on the trays and then transfer to a food processor. I used a magic bullet!


9. After processing, the pasta sauce will be thick and creamy and absolutely delicious!!!!


10. At this stage I transferred the sauce to snaplock bags in serving sizes, which I then labelled and put in the freezer! However, if you are going to use it straight away then you can add any herbs that you would like! I kept mine nice and simple, and when I use the pasta sauce, I will season with herbs to match the dish!


 11. This pasta sauce can be used as a pasta sauce, or in pasta bakes, or even in lasagna! Yum yum yum! Just place in a pot or a microwave proof dish to slowly defrost so that it can be used!


ENJOY!

Monday, 11 February 2013

Our Garden Progress - February


HEARTBREAK

It was a very sad day. One of our tomato plants unfortunately snapped after a lot of rain and strong wind. And this is why you HAVE to read THIS and THIS!!! I don't want this to happen to your tomato babies!!!


Wednesday, 16 January 2013

Taming the TOMATO


Our tomatoes are getting us so excited at the moment!!! Look at all the gorgeous green fruit that will soon be ruby red juicy tomatoes! AHH!! SO EXCITING!!!

However, as the plants grow heavy with fruit, there are a few things that need to be done in order to ensure good growth and also a tidy and tall plant! (Sometimes I am a perfectionist, and if my garden doesn't look tidy it can bother me! Hahaha). So some of the keys to taming tomatoes are first of all, to stake the tomatoes as they grow. This is extremely important!


Another key to growing tall, strong, overflowing tomato plants is to keep tying the plants to the stakes as they grow taller! This prevents the plants from snapping as they are growing, because sometimes there can be strong winds that catch both you and the tomato plant off guard! And nothing is sadder than a fruitful tomato plant snapping due to the weight of the tomatoes because it hasn't be tied up! To tie up our tomatoes, I use an old pair of stockings!

The stockings are good because you are essentially repurposing something you would have otherwise chucked out, and the delicate stocking fabric doesn't damage the plant! It allows water and air to get to the plant also! One pair of stockings makes a very decent amount of ties for the tomatoes. I think I got around 13 or 14 ties out of one pair of tights! So it is definitely worth not throwing out those laddered stockings!


Another way to tame tomatoes is to remove the suckers or sometimes called laterals! These are the little leaves (or stems if you leave them long enough) that grow between the main stem and the main branches coming of of the plant. They tend to grow on about 45 degree angles, and are easy to spot, once you know what you are looking for. Its important to remove these for visual purposes (makes the plant grow up rather than out) and also for practical purposes, as these little leaves will grow into branches if you leave them. These branches will take nutrition away from the branches growing fruit, as often these suckers don't produce fruit! So when you see one, pinch it off! Easy as that! And if you don't like the idea of wasting these little guys, they can be turned into other tomato plants simply by leaving them in water in a dark place for a couple of days or until roots develop!


As well as removing suckers, removing any of the unsightly, discolored leaves around the base of the plant is a good habit to get into. Essentially anything on the plant that looks bad, isn't going to benefit the overall health of the plant. So when you see a little sucker, or a yellow/brown branch down the base of the plant, get rid of it!

These are all very simple and quick steps to take so that you will end up with beautiful, tall, strong plants that are literally heavy with fruit!

Thursday, 3 January 2013

Burritos with garden vegetables - December 1 2012

As the first day of summer, December the 1st was a perfect day for a picnic with some vegetables from our garden! I found a delicious vegetarian burrito recipe which included some produce from our own garden!

So here is the recipe for our California Ensalada Burritos!

CALIFORNIA ENSALADA BURRITOS

SERVES 4


  • -1 small red onion, thinly sliced into rings
  • -¼ cup white vinegar
  • -⅓ cup plus 2 Tbs lime juice (separate two measurements)
  • -1 tsp salt
  • -¼ cup coriander leaves
  • -1 garlic clove, minced
  • -2 Tbs olive oil
  • -2 small avocados cut into large cubes
  • -3 cups mixed baby greens
  • -1 ½ cups shredded red cabbage
  • -4 radishes thinly sliced
  • -1 tomato cut into cubes
  • -1 carrot peeled and cut into matchsticks
  • -4 large tortillas warmed

1. Stir together onion, vinegar, 1/3 cup lime juice, and salt in bowl. Cover, and chill 20 minutes, stirring occasionally.
2. Meanwhile, combine coriander, garlic, and remaining 2 Tbs lime juice in a bowl. Season with salt and pepper, if desired. Slowly pour in oil and stir well until dressing is well combined.
3. Toss avocado chunks in separate bowl with 1 Tbs of the dressing. Season with salt, if desired.
4. Toss baby greens, cabbage, radishes, tomato, and carrot in large bowl with remaining dressing.
5. Arrange vegetables in center of each tortilla, then spoon avocado chunks over top, mashing down lightly to keep from spilling out of burrito. Remove onions from marinade with fork, and divide sliced onions among tortillas. Roll up tortillas, leaving one end open.

ENJOY!


LOTS OF GROWTH! - December 1 2012


We are seeing a lot of growth in our garden at the moment! And as it is growing, there are a few things we need to do in order to ensure the plants are as strong as possible! One of these is tying up the tomatoes to the stakes as they are growing taller! This means that they can grow up and grow strong. This also means that if a strong wind came, the stalks wouldn't snap and break!


Tuesday, 11 December 2012

Growing and growing and growing - November 8 2012


This week we have many radishes! So many that we cannot eat them all! So we are giving them to the in-laws! They are huge too!! It is seriously amazing how fast they grow! All you need to do is plant them about 5mm deep in soil and in a rows 30cm apart and make sure they are watered well! Once they start to sprout a bit, they may need to be thinned back so that they can grow to their full potential! And then in a few weeks time there will be delicious and peppery radishes to add to salads!


Today we extended our veggie garden out another quarter of the original length! It was so hard! And there were so many rocks and bricks! The top photo is before, and the bottom photo is after! Now there is more room for all the stuff that we want to plant! I am so addicted to gardening! Hahaha.

To clear the land we used a spade to "cut out" the square in the grass that we were going to dig out. Then we used a pitch fork to get rid of all the grass and roots. We used a combination of the spade and the pitch fork to dig up the soil and dig out the rocks and bricks and roof tiles! It was such a fun day even though it was seriously hard and back breaking work! After the ground was cleared we put compost on top and then planted some cocktail tomato plants and a tobacco plant (very strange!). And soon we will plant all the different seeds! Yay!!!


As well as extending our veggie garden, I have been growing my kitchen garden! I have now added fennel, parcelery (a mix of parsley and celery which I thought sounded tres cool!), garlic chives, coriander and a tomato plant! I also got some new gardening gloves! Such an awesome day of new additions to our gardening family!


Staking the tomatoes - November 5 2012

Its always exciting when there is noticeable progress in a garden! And new additions to the garden that changes the way it looks is almost refreshing!

Today, we had to stake up the tomatoes! They were starting to bend over slightly. So before any major wind or rain happened upon them, we secured them up!


We bought one stake for each tomato, that would be tall enough to accommodate their future growth. Once the stakes were hammered into the ground next to the plant (deep enough to not just fall over), we tied them to the stake using old stockings (pantyhose) that had been cut into about a 4cm thick ring, and then cut into one piece of pantyhose ribbon. Using the pantyhose is good for the plant because it is breathable and not very abrasive! It is also really good for me, because I seem to wear a pair of pantyhose once and then there is a ladder in it! So it is good recycling!

As the tomato plants keep growing, we will keep tying them up on the stake! This helps the plants to grow really good and strong, and will stop them from breaking in any not nice weather!

The garden is growing so amazingly well! It is unbelievable! The radishes are looking a lot more promising (but then again they are super easy to grow), and the rocket is really taking off... (lol)


Here is another photo to show you how amazing our garden is! On Guy Fawkes, we went up to our veggie garden and watched the fire works across the city! Totally beautiful and not that scary until our neighbours starting doing fireworks that were sending sparks awfully close to our plants! Eek!