Showing posts with label nutrition. Show all posts

Saturday, 6 July 2013

Preserving Carrots and Parsnips for ROASTING

 I love carrots!! They are a simply wonderful vegetable that can often test your patience, but they are so worth it! Its hard growing something that you can't look at and see its progress, and so when one carrot is ready, I get so excited and pick them all. (If you wanna know more about growing carrots, check out my previous post about carrots!) This week, I picked some carrots that I had (sorta) forgotten about and some parsnips I had definitely forgotten about! It was so exciting!! See!! Look at me with some of my babies!


They were huge and such random shapes! But because I picked all these carrots and a few parsnips, I had to do something with them. What you might know if you have had a few garden harvests, is that generally home picked vegetables don't stay fresh as long as supermarket vegetables. So within a few days, the veggies would go bendy and floppy. Sad face!

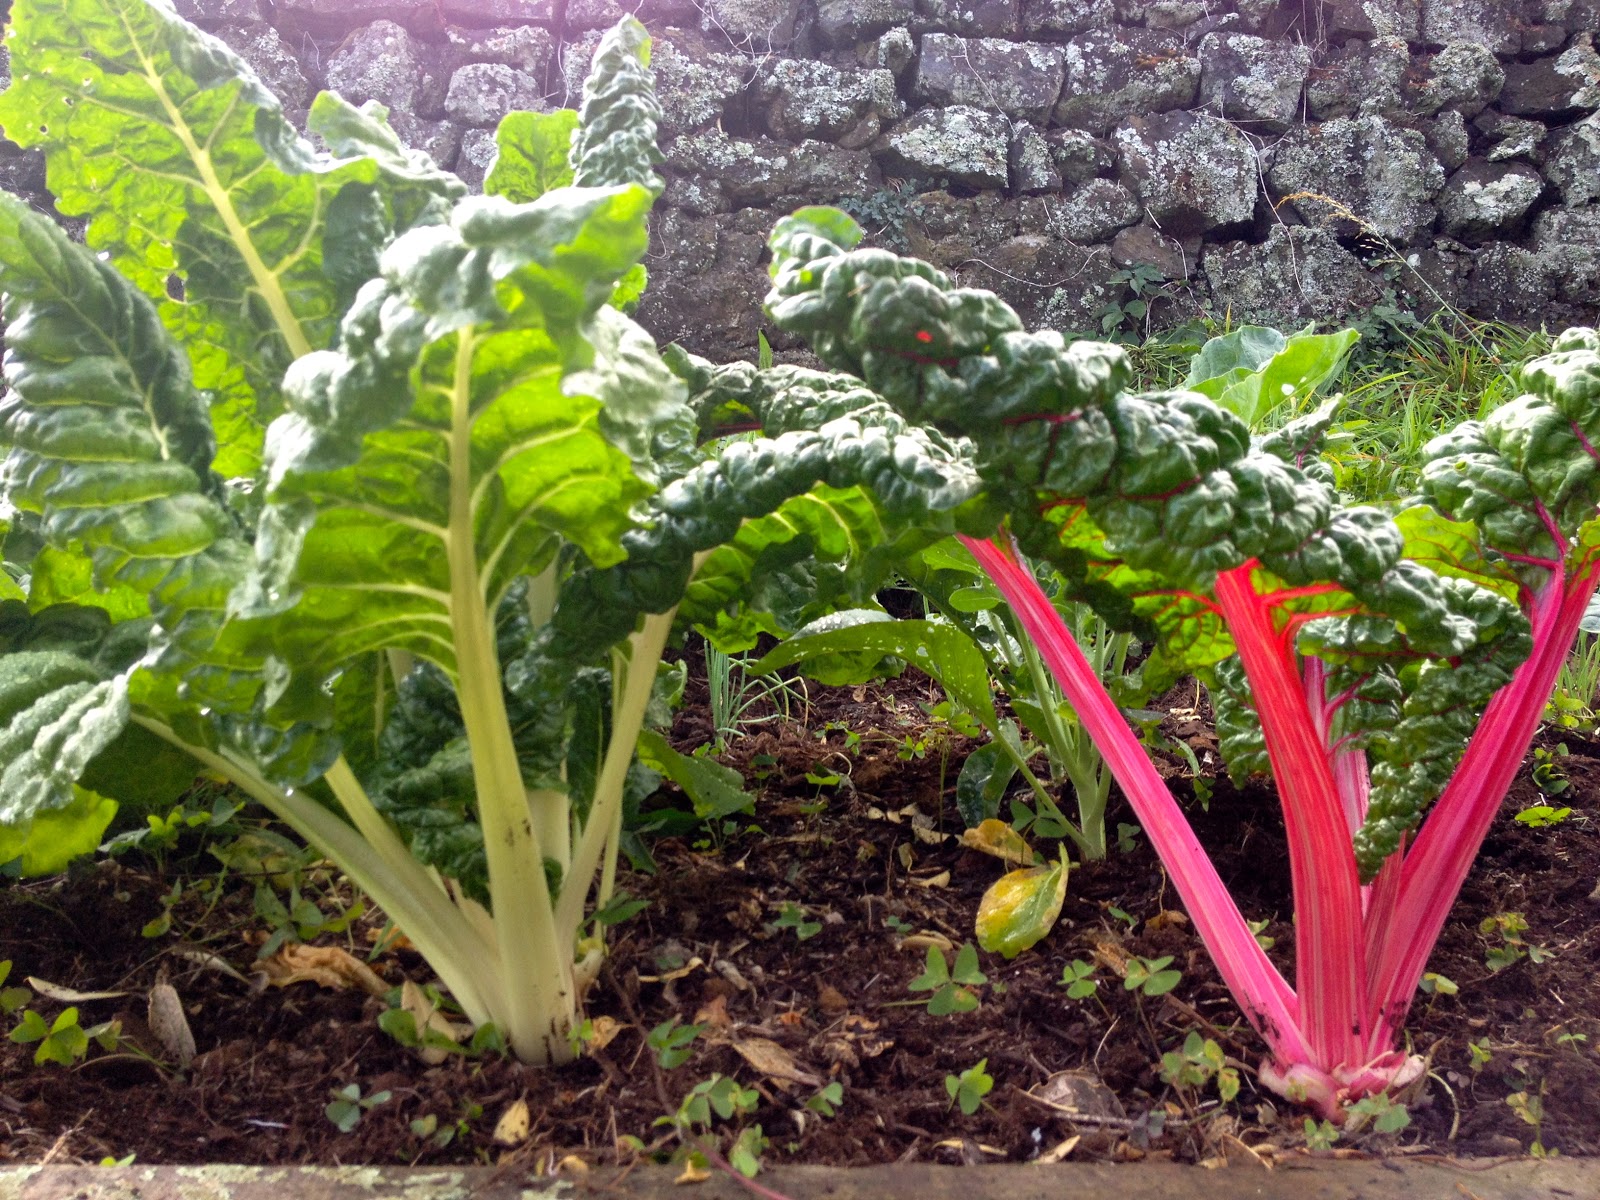
My carrots with a 30cm ruler

And I love roasts. Roast chicken, roast pork, roast lamb, roast beef. YUM! But the best thing is not just the meat, but the vegetables! Oh my gosh! Roast potato, roast carrot, parsnip and onion! YUM! So instead of just boiling the carrots and then eating them straight away, or steaming them, putting them in fried rice, I DON'T KNOW! Whatever you want! I decided that I would save my carrots for a roasting day. Hehe. Get it! So here is how to preserve your carrots and parsnips for future roasting! GENIUS! If I do say so myself :D


To begin, wash your carrots and parsnips really well. They tend to be more gnarly than shop bought carrots, so lots of dirt gets trapped. Then peel them and wash them well again to remove the last of the dirt. After they are peeled, cut off any long bits that are super thin, as these will cook a lot faster than the rest. You won't want to use these bits but save them for something else like stock or soup!

Bring a medium sized pot of water to the boil. And salt well. While you are waiting for the water to boil cut the carrots and parsnips into even sized pieces so that the cooking time is the same for the different pieces. One the water has boiled, put a few at a time (I did like 5 or 6 at a time) in the pot. Allow them to cook for 4 or 5 minutes.


After cooking, immediately remove the carrots and run under cold water, or place in an ice water bath. Either way is fine. This is just to stop the cooking process, as even when the carrot is out of the water, it would continue to cook.


Continue the process with the remaining carrot and parsnip until all the veggies are cooked and cooled. Then you need to thoroughly dry the vegetables and place on a baking sheet with baking paper or parchment paper down. Make sure that none of the veggies are touching. Transfer this tray to the freezer for a couple of hours, or until the vegetables have started to freeze. They can then be moved to a plastic ziplock bag, or a plastic container, and stored in the freezer until you are ready to use them. 

When you are ready to roast, it is so easy! Just preheat your oven to 190C or 380F, and then put as many carrots or parsnips on a tray as you like. Drizzle with a little olive oil and sprinkle with salt and pepper. Bake in the oven for around 30 - 45 minutes, or until the carrots are golden and heated through. They can be cooked with other veggies too, if you are roasting heaps of veggies together.


Also, if you don't want to roast your veggies, steaming them works perfectly well too! Just get your steamer ready and pop them in the steamer for about 5 - 7 minutes or until they are soft and well heated through! And an added bonus, they can be easily microwaved! Just place them in a microwave proof dish, cover with a paper towel and microwave in 30 second intervals until the veggies are steamed and heated through.

Homemade carrots are so sweet and tasty! What better way to savor them, than to preserve them for roasting at a later date! I hope you enjoy your delicious carrots!

Wednesday, 3 July 2013

Butternut Squash Soup

During the summer, in my garden I grew squash! This was such a rewarding planting experience, as I planted my squash producing beauty from seed, and then ended up with multiple beautiful, golden butternut squash! If you love butternut squash or pumpkins, then look at my post on how to grow squash and pumpkins! As with all things that are grown in your garden, you do often end up with A LOT of produce. So here is one simple and easy way to enjoy your butternut squash! Even if you have bought it :D

Butternut Squash Soup
Serves 4

Ingredients:
-1 butternut squash
- Vegetable oil
- 1 Tbsp dried rosemary
-2 Tbsp white sugar
-2 Tbsp white vinegar
-1 onion, diced
-1 carrot, diced
-2 celery stalks, diced
-1 cinnamon stick
-Salt
-Black pepper
-4 cups of chicken stock

Method:

1. To begin, get your squash and a big, sharp knife that you can use to cut through the hard skin of the squash. Also, preheat your oven to 400F or 190C.


2. Cut your your squash in half across the squash. This isn't normal practice, but it makes it a lot easier to handle the squash. Cut these pieces in half so that you have four pieces of squash.


3. Scoop the seeds and pulp out of the bottom quarters of the squash. This is really easy to do with a spoon! 

4. Once you have done this, carefully remove the skin from the squash. I found that using a knife and cutting the skin off, down towards the chopping board, was much easier than using a vegetable peeler. But you do whatever works well for you!


4. Cut these four pieces of squash into inch sized cubes (you will have some strange triangle shapes, but don't worry! The size is only important so that the squash has an even cooking time.

5. Drizzle the squash with about 2 Tbsp of vegetable oil, or just enough to get a light coating over all the squash.

6. Sprinkle the squash with the dried rosemary, sugar and vinegar. Then crack fresh black pepper and salt over the squash. Not too much, but enough to season well.

7. Get in there with your hands and mix it all up! This helps to ensure that every piece of squash is going to be full of flavor! Then put the squash in the oven for 30 to 45 minutes or until golden and caramelized. Turn the squash about half way through the cooking time.


8. Peel the carrot and onion, and dice into centimeter pieces. Wash the celery and cut into the same size pieces. I used the celery leaves as well because I didn't wanna waste them! But you can leave them out if you want.


9. Put 2 Tbsp of vegetable oil into a large saucepan, and heat over medium heat. Put the diced onion, celery and carrot into the saucepan along with the celery stick.

10. You don't want to brown the vegetables, but rather sauté them until the onion is softened.


11. Once the vegetables are softened, add the roasted squash to the pan, and cover with the chicken stock.


12. Bring to the boil and then reduce to a simmer for 10 minutes. This is only so that everything can get heated through!

13. Take the soup of the heat, remove the cinnamon stick and then blend up. If using a stick blender, go and do it straight away! But if you have a food processor, wait for the soup to cool for about 20 minutes.

14. Return to the saucepan and heat up again. Until it starts to bubble slightly.


15. Taste and season well. Serve straight away, or transfer to containers than you can put in the freezer for up to three months, or even in the fridge for up to three days. If soup is frozen, in order to reheat, just remove from the freezer and defrost in the microwave and heat up, or put into a saucepan to defrost and reheat. Super easy!


And enjoy!!! This soup will become a family favorite with its warm, sweet flavors and smooth, creamy texture!! Yum yum yum!!

Tuesday, 7 May 2013

Why you should love basil! (and preserving pesto)

I love basil. And I grew a lot of basil over summer. And when I say a lot, I mean I had six huge basil plants growing. I love basil on pizza, in pasta, with sun-dried tomatoes, and I definitely LOVE basil pesto! I love it on crackers, on pasta, with chicken, and in pastry scrolls with cheese. Oh golly. Yes, I love basil.

And you should love basil too. Basil is such a great herb to grow in your garden. Planting it around tomato plants (I did this), called companion planting, helps to give the tomatoes more flavor as they grow. It looks so beautiful as well, if you are planting it in a herb garden, or even in your kitchen garden. Its very simple to grow as well. I bought seedlings and then transferred these to my garden. I dug holes deeper than needed, and then filled these holes with some soil that has special nutrients in it that helps herbs to grow well. I then put the seedling in the hole and covered the roots, and then watered it.

As basil grows, it does have the tendency to grow up rather than fill out, and the ideal basil plant, is not tall with sparing leaves, but rather any height and full of leaves. This can be done by pruning the plant! It sounds scary, and don't stop reading now, cos this is beyond simple. All you need to do to get big, luscious plants is to:

1. Find the main stem of the basil plant (the one that goes down into the ground)
2. Find the spot where there are two smaller branches out of this main stem that are opposite one another
3. Pinch off the stem above these leaves

The two minor branches that you found, will now turn into main stems, and encourage more growth outwards rather than upwards. You can continue to do this as you feel your plant is getting too tall.

At the end of summer, I had a lot of basil that I hadn't used, and I was getting my garden ready for the new seasons planting, I decided to pull the basil out of the garden. I had a lot. And so I knew I wasn't going to be able to eat it all by scattering a few leaves here and then. So pesto was my best option for savoring my basil. And I knew that I would have to preserve some of it, and I don't like the idea of putting it in jars. And then it hit me, I could freeze individual pesto servings!


This actually turned out to be a thing already, and I found that many people had had problems where they were thawing their pesto, and the basil turned brown. The solution: blanch the basil first! Blanching is where you emerge a vegetable into boiling hot water for a short amount of time (in this case, for the basil, like 5 seconds, or until it wilts slightly). I used a sieve to help me do this, because it is only in the water for a short time, it is easier than fishing around with a slotted spoon, but use that if you need to! And very importantly, do it in batches, as this means the cooking is more even! 


After putting it in the boiling water, the basil is quickly transferred to ice cold water. Doing this almost brightens the green color of the basil, and helps to lock it in. I found that it intensified the basil flavor too!


After blanching the basil, I removed it from the ice cold water, and gently patted the leaves dry. I put these in a blender, and then added a little bit of oil. As the blender combined the basil and the oil, I added oil slowly so that it became more of a paste, than slightly oily little basil leaves. This is such a simple recipe, that you don't need measurements. Just add oil, until the pesto looks like it is starting to come along. After I had the right consistency, I poured it (very messily) into ice cube trays and then put these in the freezer.


After spending the night in the freezer I removed the pesto cubes from the ice tray and put them in an air tight container which I keep in the freezer. This is so handy because whenever I need a little bit of pesto, I just take out a cube, and let it thaw. Because it is just basil and oil, you can add your own seasonings depending on what meal you are having. Some delicious flavors to add are garlic or parmesan! Yum yum yum!

I love this pesto with pasta! Its such an easy quick meal! Just cook the pasta, and then drain the water, saving a little of the water. Put the pasta back in the pot, add the pesto cubes, and add a little bit of water, and heat through! Add lots of pepper and lots of parmesan! So good!

Wednesday, 1 May 2013

Capsi-YUM (growing capsicums)

Capsicums are delicious, crispy, juicy, sweet and oh so versatile. You can have them in salads, you can stuff them, roast them, have them on pizza. They add amazing flavor, and texture to whatever dish they are in. And the best part about capsicums, is that they are actually really simple to grow. I used to find the idea of growing capsicums really daunting, but after a long hot summer, I now think they are such an incredible thing to grow! This guide can be used for both capsicums and chillies!


When to grow: Mid spring to mid summer. If you live in a warm area, plant inside in late winter, and then put outside mid spring, and if you live in a cold area, plant inside in late winter or early spring and then don't put outside until after the risk of frost has passed.

Where to grow: Capsicums grow up (to about knee height) rather than out, so you don't need too much space around the plant. They do need a spot that gets a lot of sunlight, but not too much wind. The capsicums are very heavy on the plants and the strong winds can break the plants as they are quite brittle.

How to grow: If you are starting with a seed, plant the seed in good quality soil either inside or outside, depending on your timing, in a seed tray. Make sure you water the seeds really well, and after about 10 days, the seeds will start to sprout. Then move the plants to a small pot about 7cm or 3 inches tall, and keep the plant in this pot until it is about the same height.

If you bought seedlings, or if you planted it from a seed, the steps are the same from here on! Then move the capsicum plant to the garden, or to a big pot if thats where you are wanting to plant it. Plant the capsicum in a good sized hole in the ground. Pat the soil down around the plant base, and then put a bamboo stake into the ground next to the capsicum plant.


Feeding your plants: Capsicums love nourishment! Make sure that you are giving them enough food. Using a liquid compost once every two weeks while the capsicums are growing is really important, as this gives them the nutrients they need to grow well.


Staking the plants: Because of the brittleness of the plants, capsicums need to be staked as they are growing. Putting a bamboo stake in the ground next to the plants is the best idea. The plants can then be tied to the stake using old stockings or something else that will be gentle on the plant. As the capsicum plant keeps growing, keep staking the plant up, so that is secure against the stake.

Important things to know: Good ventilation is important when growing fruits (or capsicums). So ensure that the plants have enough room for air to move freely. Watering the plants really well everyday is also a very important part of growing capsicums.


Harvest: Capsicums can be picked whenever you want to pick them really! The longer they are left on the plant, the more they mature, and the flavor changes. The above, and below capsicum are from the same plant, just the bottom one (reddish) was left on the plant for longer. This is because the plant I grew was a common capsicum. The capsicum starts out green, and ripens to orange or red! Beautiful! When you are ready to pick your capsicums, use scissors to cut the vegetable off, or you can damage the brittle plant!


Enjoy your capsicums, they truly are beautiful plants, and they are so simple to grow! If you have any questions, let me know! (:

Friday, 5 April 2013

Growing Swiss Chard or Silverbeet

Swiss Chard. Silverbeet. Tomaytoe. Tamato. Same thing. Different name. But no matter what you call it, there is no doubt that this beautiful green leafy plant is so delicious, and so easy to grow.

My Good Old Fashioned Swiss Chard and  also the Bright lights variety!

And here at The Cottage Veggie Garden, I will show you how easy it is to grow!

But first, what do you know about Swiss Chard?

Swiss Chard is high in vitamins K, C, and A. These are vitamins that your body needs in order to stay healthy and strong. It is similar to Kale in that regard! Swiss Chard is also high in magnesium, iron, potassium and fibre. Keeping your iron levels up is important, and having a good daily intake of fibre is important, and most people know both of these things. But the benefits of magnesium and potassium aren't that well known. Having good levels of magnesium in the diet is important for your heart as well as blood pressure, AND its also good for your bones, and keeping them strong. And potassium is also good for your heart. A diet rich in potassium can help to reduce anxiety and depression, as well as help to enhance muscle strength and maintaining water balance in the body (certain cells need a certain amount of water to function). 

Swiss Chard is absolutely good for you! And having your own personal supply will surely benefit both your taste buds and your body.

So now lets talk about how to grow it!


Growing time:
All in all, Swiss Chard takes about 7 - 12 weeks to grow, however you can start eating as soon as you like (you may like the little baby leaves).

When to grow Swiss Chard:
Swiss Chard can grow anytime of year - EXCEPT FOR THE COLD WINTER MONTHS!!

Planting the seeds:
It is so easy to grow from a seed. No kidding. Just plant the seed exactly where you want the plant to be (Swiss Chard doesn't really do well when transplanted). Plant it in good quality soil, in a spot that gets some good sunshine during the day, but also gets a little bit of shade. 

Sow a couple of seeds per hole, and plant them 1cm deep, and leave 15 - 30 cm (6 - 12 inches) gap in between the plants so that when they grow, they have room to expand and spread their beautiful leaves. Ensure that during the germination period (when they are seeds in the ground), that they are being watered well, as this will help to create the perfect environment for them to sprout.

Once they have started to sprout, they will look like this:


Caring for your plant:
These ones have pink stems as they are the bright lights variety, and obviously if you are growing normal Swiss Chard, the stems will be a creamy white colour. It is very important to keep watering them at this stage, as with all leafy greens. Once they get to the stage below, you can thin out the plants (remember you planted a couple of seeds per hole?). This way the plants will have plenty of room to grow.


Pest control:
This beautiful leafy green can be quite susceptible to slugs, ESPECIALLY while it is little. So make sure you either have preventative measures in place, or just some plan of how to get the little sluggies who want the Swiss Chard all to themselves. And you may find some little bugs snuggled up inside the curls of the leaves, so give them a very good wash before you eat them, as you may find a hidden little grub!

Harvesting:
The fabulous thing about Swiss Chard is that it is whats a called a "cut and come again" plant. Meaning, you can take a couple of leaves off and then come back again later when you need some more. The whole plant doesn't need to be picked all at once.

How to enjoy:
Enjoy your Swiss Chard chopped roughly and then wilted in a pan with a drop of water and a dash of nutmeg, or add it to quiches and vegetarian dishes! Absolutely delicious!!!


Tuesday, 2 April 2013

Kale - Your new best friend

Yes. Kale. YOU WILL FALL IN LOVE. No jokes.

Let me tell you why.
1. Its super good for you
2. Its easy to grow
3. Its yummy

Are you sold?!

Well let me tell you a bit more about kale, as you will have a long and happy relationship with this beautiful plant if you listen to what I have to say!

So what is Kale?!

Photo from Walmart.com
I like to think of Kale as a combination of broccoli, swiss chard (silver beet), and spinach! It is actually from the same plant family as broccoli and brussels sprouts! And Kale... wait for it... IS ONE OF THE HEALTHIEST VEGETABLES IN THE WORLD! AHHH!!

And in easy to understand terms, Kale has a lot of fibre in it (good thing), is low in calories (good thing), high levels of Vitamin A, C and K (very good things which keep you healthy!), and kale helps to lower cholesterol levels and keep your heart healthy! This is the super plant!

So how do you grow the "Queen of Greens"?!

So just like with all plants, get your seeds and plant them in some really good quality soil. However, with kale, you want to plant it when the weather is cooler, although you can plant kale all year round, so long as it doesn't get too much hot sun. So where ever you plant your seedlings (if in summer), make sure its a place that gets just morning sun, as this tends to be cooler. But generally, planting the seeds in spring is ideal!


6 weeks after planting the seeds, transfer them to where you want to plant them. When planting, ensure that there is around 2 feet, or 60 cm spacing between the plants, as these beauties can grow large! And like all plants, make sure that they are watered adequately. Also using an organic plant food is a good idea, as this helps to get all the right nutrients to the plant so that it grows really well. As it is a leafy plant and you eat the leaves, putting the organic plant food just at the base of the plant, rather than on the leaves is a good idea, and still will be just as effective, if not more.

I personally, am growing my kale in my kitchen garden, as it does grow well in pots as well! This is good for me, and I can move the pots to get out of the sun! And its easy for me to harvest it!

BONUS: Because this plant does best in cooler temperatures, if it frosts while the plant is at least 6 weeks old, the frost is actually beneficial for the plant, as it makes the leaves a bit sweeter! 

Outer leaves can be harvested as you go, so if you need a few kale leaves, just pull a few off! The great thing about kale is that it has many uses, and I will definitely be posting about these in the future. But as a general rule, the outer leaves, which are older, are better for cooking, and the small tender inner leaves, are perfect for salads.

So please give kale a try! You will love it!

Monday, 1 April 2013

The Carrot.

Oh golly. I have a love affair with carrots. They're probably the vegetable that I've loved for the longest. Sweet and crunchy. Yum yum yum! I remember when I was 8 or 9 growing carrots and picking them from the garden when they were tiny, but I was so excited, I ate them straight after washing! And not much has changed. So naturally, I would grow them in my own garden. And here is how you do that! 

PS I planted rainbow carrots (a mixture of colours), and some round carrots! AHH! So much excitement! Who knew there was more to carrots than just baby carrots and big long orange ones!

Carrots do best when grown between mid to late winter until late autumn!
So to begin, prepare your good quality soil (no rocks) that has some sunshine that can shine upon the carrots! Lose soil is essential if you want to grow long skinny carrots, but if you have rocky soil, growing the smaller rounder varieties should be right up your alley! Its easier to plant straight in the ground for these babies. I am growing carrots, not just IN my garden, but also, in my patio garden in some long planter boxes, as they work perfectly! And I like carrots. Lots of carrots.

In your soil, dig a trench a fingertip deep, in which to sprinkle a thin line of seeds, about a fingertip apart. Or you can sow a patch of carrots, by sprinkling seeds on top of a patch of soil, and then using some extra soil or compost to lightly cover the seeds. Once the seeds start to sprout they will at first look like grass, so don't think they are weeds and then pull them out! But after a little bit they will start to grow the iconic carrot leaves! You can thin out the carrots around this time so that they can grow to their full potential. This means pulling out a few of the plants, so that the remaining plants can grow really well. However, don't pull out too many, as carrots do well when a bit crowded!


As the carrots keep growing, you may find that you want to thin them out more. Leaving about 5cm or an inch between each carrot is ideal for growth!

Carrots like moist soil, so ensure that the soil is nice and damp, and not just on the surface, but actually goes a bit deeper, so that the roots (the carrot bit) can grow beautifully and uniformly.

Root vegetables need certain nutrients (not gunna get technical, but they need phosphorus from the soil). To meet this need, using bone meal (an organic fertilizer made from crushed up bones) or something similar, or an organic liquid seaweed plant food! I often put seaweed in my garden, and this does really well! But using a liquid seaweed means that it is absorbs a lot faster by the plants.

As the carrots grow, you may find the top of the carrot (the crown) starts to push out of the ground. When you see this, cover it up with soil, otherwise the carrot will go bitter, and discolour! And you do not want that! So cover up those cheeky crowns trying to pop out!


The great thing about carrots, is that you can pick them when they are babies, and they are still great! This is a bonus, because this counts as thinning out the garden, so you are doing something good for the garden, but also good for you cos you can enjoy those fresh bubby carrots! But carrots can also be left in the ground to mature fully. The carrots in the photo above and below took around 3 - 4 months to grow! Crazy eh! Thats why I have so many growing at once, because I like them!

Carrots store well in the ground (if you don't need them yet, don't pull them out), but they can also be frozen (I like to prepare mine to be roasted eventually), or just eaten fresh (cooked or raw).


So go and grow and enjoy your carrots! They really are simple to grow and very rewarding! Nom nom nom.

Wednesday, 27 March 2013

Refreshing Mint Ice-cubes

Theres nothing like a nice, refreshing drink on a hot, sunny afternoon. A lemon ice tea with mint. Mmmm.

For those of you that grow mint, you will know that once it starts to get going, there is so much that you don't even know what to do with it all! Here is a nice way to preserve some of that mint, in a way that you will most definitely use!


So to start, pick your mint, and wash the leaves well. Get your ice tray.
Pull off the leaves, and if they are quite large, give them a quick chop. Then put the leaves into the ice tray. 


Fill it up as much as you like! Then fill the trays up with water and put them in the freezer!

Delicious!!!! Add these to amazing Homemade Lemon Ice Tea (recipe coming soon for all you lemon growers!), or even to cocktails, or just to water!

Another great combination is mint and lemon. So add some finely grated lemon zest to the mint before adding the water! AMAZING!!

And if you really wanna go crazy! Chopped strawberries and mint in ice-cubes! Super yummy! So go crazy with your not boring old ice recipes! :D


Tuesday, 12 March 2013

Growing Squash!

Squash, like pumpkins, are insanely easy to grow. They are so rewarding because the amount of growth from one plant is amazing! They are a very simple plant to grow, and one plant can produce around 12 squash, depending on the type of squash you planted! I planted butternut squash, but the same rules pretty much apply to both squash and pumpkin. Squash and pumpkin can be grown from spring, to mid summer. So in New Zealand, September to January, or in America - March to July.

So to begin, take your seed and plant it in good quality soil. The seeds can be soaked in water overnight to help improve germination, but this isn't necessary if you can't be bothered! It is recommended that you plant the seed in a small pot that can be left to germinate on a cool windowsill, but I planted mine straight in the soil in my garden in January (middle of summer in New Zealand), and it did exceptionally well! So its really up to you to decide what you choose to do! No matter what method you choose, plant two seeds in each pot/area, as one will be stronger than the other after the same amount of time, and that will be the one you want to keep! Unless you want more than one squash plant, and in that case, make sure you have enough room to plant two plants!

When you are ready to plant (if you started in a pot), make sure that the space where you will plant your squash has a lot of room. As you can see from the photo below, this is just one giant squash plant! Its really important as well, that the plant will get a lot of sunlight in the space that you have chosen for it! If you do decide to plant another squash plant (general rule, 1 plant per person) make sure there is at least one metre, or just over 3 feet between seedlings or seeds!


Once the plant has grown considerably, flowers will start to appear on the plant. These are the flowers that will turn into the squash or pumpkins! They look almost identical to courgette flowers. These flowers need to be pollinated, so having flowers growing near by helps to get the vegetables going. Planting peas, beans and sweetcorn around squash and pumpkin is really beneficial to all the plants. This is called companion planting, and often helps to maximize flavour as well as encourage speedy growth.


Once the plants start to produce the beautiful vegetables, its important to make sure it is getting fed enough. The plants can be fed by placing compost at the base of the plant, things like coffee grounds, manure or seaweed, are all good things that will help to feed this productive plant. I like to use organic plant food, or a liquid compost, and use this at the base of the plant. It is important to do this every two weeks, or even once a week as the plants start to produce a lot of fruit. Watering your plant sufficiently at this stage is very important too. This needs to be done at the base of the plant as well, as watering the leaves can lead to spreading of things that aren't nice for your leaves, such as powdery mildew. Watering your plants a lot also helps to ripen the vegetables and make them as tasty and big as possible! So make sure you are giving your plant a lot to drink, especially in the very hot summer weather.


After about a month (or sooner), your squash or pumpkin will have gone from looking like that ^ to looking like the vegetable below (or however it is supposed to look if you aren't growing a butternut squash). But now this poses the important question, when do I pick my vegetables??


Summer squashes can be picked as they ripen, like spaghetti squash, whereas a butternut squash (often called a winter squash) and most common pumpkins should be picked only when all the foliage has died and shriveled, and when the vegetables have tough skins. Make sure that the winter squashes look pretty much perfect (no bruises), and then store them in a cool and not damp place. If you are concerned about damp soil rotting the vegetables as they are growing, placing bits of plywood or a similar object can help prevent this.

I cannot wait until my squashes are ready to be harvested! It is very exciting adding a new vegetable to the list of harvested goodies from The Cottage Veggie Garden.

Wednesday, 27 February 2013

Roasted Tomato Pasta Sauce TO FREEZE


After following this guide to growing awesome tomatoes you will end up with dozens of tomatoes! We have slowly been picking a few tomatoes over this past month as they start to ripen, but this week we had a bumper harvest where the majority of our tomatoes became big, juicy red fruits at the same time!


Like all good gardeners, we wanted nothing to go to waste. No tomato to sit too long in the fridge and become inedible. So I was looking at ways to preserve these beautiful rubies. Freezing whole tomatoes is a no-no. It destroys the flavour and the texture goes funny. Not nice. Sun-drying tomatoes is great, but I didn't have a dehydrator, we don't get hot enough temperatures in New Zealand, and I don't like the idea of leaving my oven on for up to 40 HOURS!! 

So, I decided that my best bet to preserve flavour not just the fruit, was to make a pasta sauce. And what better way to intensify tomato flavour than to roast them first! And the great thing about this sauce, is you don't need to stand over a hot pot for hours! You just need an oven and a food processor!

So here is my recipe for ROASTED TOMATO PASTA SAUCE

(from 45 normal sized tomatoes, I got 1.8L of pasta sauce!)

INGREDIENTS:
-tomatoes
-salt
-pepper
-oil
-crushed garlic


1. Wash all the tomatoes you have on hand. I had around 45 normal sized tomatoes. And preheat the oven to 160 degrees C (320F).
2. Slice the tomatoes in half and place cut side up on a baking tray. I had a couple of yellow cocktail tomatoes so I chucked those in too to roast.
3. Drizzle the tomatoes with oil - I used canola cos that was all I had, but olive oil can be used instead if thats what you have!
4. Season generously with salt and pepper.


5. Roast the tomatoes for half an hour, and after this time pour off all the liquid on the trays (there will be a lot).
6. Return to the oven for another 5 minutes just to get a bit more colour on the tomatoes, as this will be more flavour!!


7. Brush the tomatoes with crushed garlic so that there is a little bit on each one.
8. Wait for the tomatoes to cool for about 20 minutes on the trays and then transfer to a food processor. I used a magic bullet!


9. After processing, the pasta sauce will be thick and creamy and absolutely delicious!!!!


10. At this stage I transferred the sauce to snaplock bags in serving sizes, which I then labelled and put in the freezer! However, if you are going to use it straight away then you can add any herbs that you would like! I kept mine nice and simple, and when I use the pasta sauce, I will season with herbs to match the dish!


 11. This pasta sauce can be used as a pasta sauce, or in pasta bakes, or even in lasagna! Yum yum yum! Just place in a pot or a microwave proof dish to slowly defrost so that it can be used!


ENJOY!

Monday, 11 February 2013

How to freeze courgettes - Courgette Soup!

If you have ever grown courgettes, then you know that you end up with a lot of courgettes in a very small amount of time. And recently we have ended up with a lot of courgettes! And a few surprise marrows!


And there is only so much grilled courgette you can eat until you start to get a little sick of it. So we were looking for some ways to preserve (or freeze) courgette, so that we don't have to eat it all now, and so that we can have some at a later date. And most importantly, we don't waste any of the delicious veggies from our garden!! 

So I set out to do a bit of research on the best way to preserve (or freeze courgette). I don't have a lot of spare time at the moment, so I was looking for something that meant I didn't have to put a lot of effort in, and wouldn't mean I had to slave for hours. What I found from my research is that you can blanch and then freeze courgette, but many people didn't recommend doing that, as when the courgette is reheated, its rubbery and not that nice. I didn't want to cut up nicely, then blanch, then freeze my courgette babies, only for in a few months to reheat it and then avoid it in my meal. Someone suggested that it is better to create a meal with courgette in it first, and then freeze it, such as chocolate courgette cake (not technically a meal, but I could eat a lot of it in one sitting!), or a courgette soup! I had never tried courgette soup before, so I thought I would give it a go, because soup in winter is divine and so easy to reheat! And the best part of this courgette soup (in terms of preparation) was that the hardest part was cutting the courgette and that was it. Easy! Just what I needed!

COURGETTE SOUP
The great thing about soup is that you can basically make it up, so just judge how much you need, based on how much courgette you have!

Ingredients:
-Oil
-Garlic
-Onion
-Courgette
-Beef, chicken or veggie stock
-Chili flakes
-Pepper

1. In a large pot, heat oil over medium heat. Add onion cut into quarters (as much as you like), and then add as much garlic as you like. I used one onion, and 1 tsp of crushed garlic. Sauté for a couple of minutes until the onion starts to brown a little.
2. Add the sliced courgette to the pot. I had about 7 to 8 cups of sliced courgette, but just use as much as you have!
3. Add chili flakes to the courgette. I used about 1 1/2 tsps. Saute the courgette with the chili flakes until the courgette starts to brown.
4. Add enough stock to cover the courgette. I needed 2L of stock, and I used a combination of chicken and beef stock.
5. Crack as much pepper into the pot as you like, and then increase the heat until the stock comes to a boil.
6. Once the soup is boiling, reduce the heat and then simmer. I just left the pot for an hour (to be honest I forgot I had the pot on the stove! Oops!), but you can just leave it to simmer until the courgette starts to break apart easily.


7. Take off the heat, and allow to cool.
8. Once cool, liquidize the stock. You can do this with a stick blender, or transfer in batches to a normal blender.


9. Either eat the soup straight away, or transfer to plastic containers in serving sizes, so that reheating it is very easy!
10. Place in the freezer!
11. To reheat at a later date, put the soup in a saucepan, or in a microwave proof bowl and stir at regular intervals to reheat it well.


Courgette soup is one of our new favourites!! Didn't even know it existed a week ago, and now we have 6 servings of it frozen to eat in winter!! YAY!


Tuesday, 5 February 2013

"Whats ready in the vegetable garden" Soup

Sometimes you just feel like a dinner you can whip together in seconds. No need to go to the grocery store to get ingredients. Or spend hours slaving and chopping away. "Whats ready in the vegetable garden" soup is one of my new favourites. This was also combined with "What do we have in the fridge that we need to use up" soup last night.

So here is my Monday night dinner - an extremely versatile soup that literally will be ready once the veggies are chopped and the soup is boiling. Basically, use as much as you like, of what you like, and adjust the ingredients based on how much you need, and how much you have!


INGREDIENTS:
-Canola oil
-Bacon
-Swiss chard stems
-Corn
-Courgette
-Carrot
-Frozen spinach
-Chicken stock
-Noodles
-Pepper

METHOD:
1. Heat the oil in a medium sized saucepan, and add the bacon.
2. Cook until the bacon starts to brown, and then add all the chopped vegetables that you want.
3. Stir and continue to cook until the vegetables begin to colour a little. This colouring will be some yummy flavour!
4. Add enough chicken stock to cover the vegetables, and then bring to the boil.
5. Once the soup is boiling, reduce the heat and let it simmer for a couple of minutes.
6. Bring soup back to the boil and add the noodles.
7. Boil until the noodles are cooked.
8. Taste and then season with pepper.
9. Serve and enjoy!!!