
Swiss Chard. Silverbeet. Tomaytoe. Tamato. Same thing. Different name. But no matter what you call it, there is no doubt that this beautiful green leafy plant is so delicious, and so easy to grow.
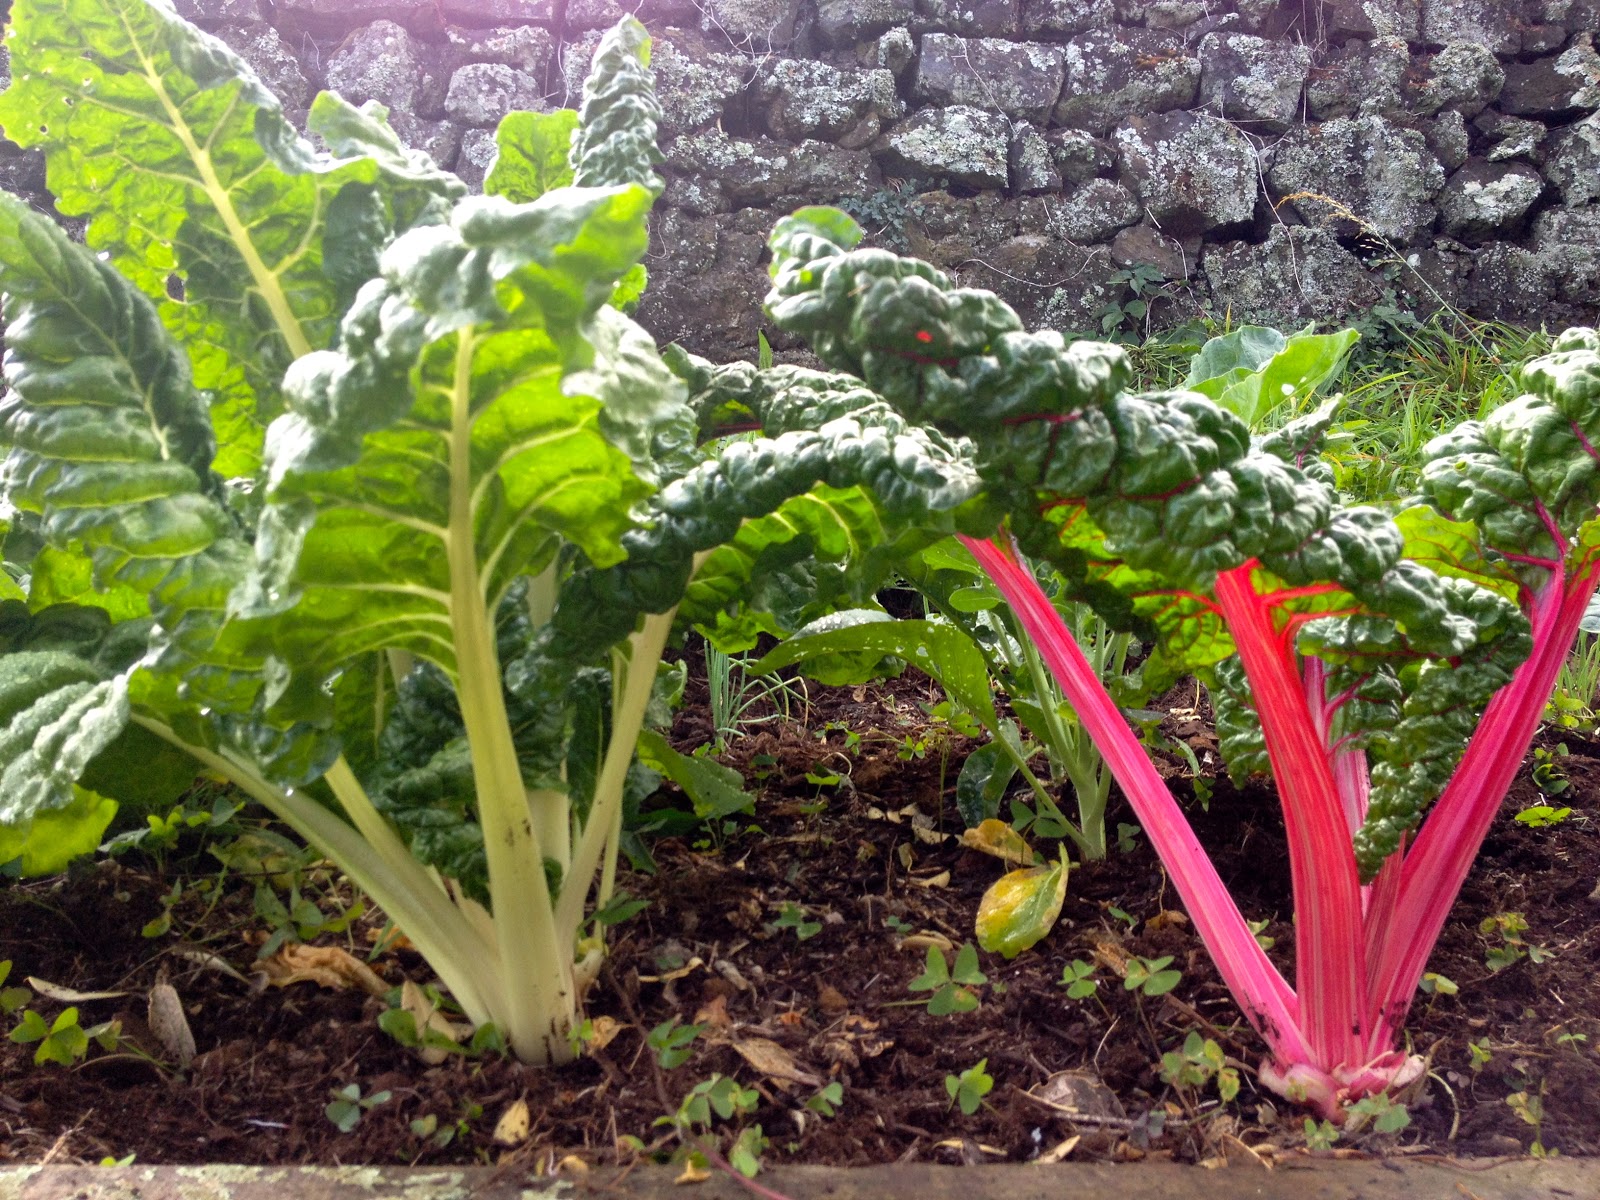 |
| My Good Old Fashioned Swiss Chard and also the Bright lights variety! |
And here at The Cottage Veggie Garden, I will show you how easy it is to grow!
But first, what do you know about Swiss Chard?
Swiss Chard is high in vitamins K, C, and A. These are vitamins that your body needs in order to stay healthy and strong. It is similar to Kale in that regard! Swiss Chard is also high in magnesium, iron, potassium and fibre. Keeping your iron levels up is important, and having a good daily intake of fibre is important, and most people know both of these things. But the benefits of magnesium and potassium aren't that well known. Having good levels of magnesium in the diet is important for your heart as well as blood pressure, AND its also good for your bones, and keeping them strong. And potassium is also good for your heart. A diet rich in potassium can help to reduce anxiety and depression, as well as help to enhance muscle strength and maintaining water balance in the body (certain cells need a certain amount of water to function).
Swiss Chard is absolutely good for you! And having your own personal supply will surely benefit both your taste buds and your body.
So now lets talk about how to grow it!
Growing time:
All in all, Swiss Chard takes about 7 - 12 weeks to grow, however you can start eating as soon as you like (you may like the little baby leaves).
When to grow Swiss Chard:
Swiss Chard can grow anytime of year - EXCEPT FOR THE COLD WINTER MONTHS!!
Planting the seeds:
It is so easy to grow from a seed. No kidding. Just plant the seed exactly where you want the plant to be (Swiss Chard doesn't really do well when transplanted). Plant it in good quality soil, in a spot that gets some good sunshine during the day, but also gets a little bit of shade.
Sow a couple of seeds per hole, and plant them 1cm deep, and leave 15 - 30 cm (6 - 12 inches) gap in between the plants so that when they grow, they have room to expand and spread their beautiful leaves. Ensure that during the germination period (when they are seeds in the ground), that they are being watered well, as this will help to create the perfect environment for them to sprout.
Once they have started to sprout, they will look like this:

Caring for your plant:
These ones have pink stems as they are the bright lights variety, and obviously if you are growing normal Swiss Chard, the stems will be a creamy white colour. It is very important to keep watering them at this stage, as with all leafy greens. Once they get to the stage below, you can thin out the plants (remember you planted a couple of seeds per hole?). This way the plants will have plenty of room to grow.

Pest control:
This beautiful leafy green can be quite susceptible to slugs, ESPECIALLY while it is little. So make sure you either have preventative measures in place, or just some plan of how to get the little sluggies who want the Swiss Chard all to themselves. And you may find some little bugs snuggled up inside the curls of the leaves, so give them a very good wash before you eat them, as you may find a hidden little grub!
Harvesting:
The fabulous thing about Swiss Chard is that it is whats a called a "cut and come again" plant. Meaning, you can take a couple of leaves off and then come back again later when you need some more. The whole plant doesn't need to be picked all at once.
How to enjoy:
Enjoy your Swiss Chard chopped roughly and then wilted in a pan with a drop of water and a dash of nutmeg, or add it to quiches and vegetarian dishes! Absolutely delicious!!!
No comments:
Post a Comment