Showing posts with label repurpose. Show all posts

Tuesday, 3 September 2013

How to grow plants from seed - Part 2

I am a huge believer of growing plants from seed. To me it is so much more rewarding to plant my plants from seed. It truly is so easy! You just need a little patience and a few tips! If you haven't seen it already, check out Part 1 of this guide on how to grow seeds, cos that will help you with the basics! This part of the guide will give you a little bit more detail and tips that aren't essential, but really help out! So lets get into it!

My first trick or tip when growing seeds is to use a propagator, or an equivalent. This creates a micro-climate for the seeds in which to thrive. This micro-climate helps to keep the plant warm, and retain soil moisture. My Dad bought me an electric propagator, so I use this! It makes such a huge difference! I just put it in a sunny place, adjust the vents and turn it off an on when appropriate. If you wanna get super technical (which I don't bother with) you can use a propagator thermometer so as to get the ideal temperature for the plants to grow. But I just turn it on for a few hours in the cold parts of the day!


If you don't have an electric propagator, don't even worry! You can use things like plastic bags, plastic containers, or even plastic soda bottles with the bottoms cut off. These things all help to create essentially mini glass houses. The plastic soda bottles with no bottoms can also be used to help protect the plants when they go out into the big garden. The bottle lid makes it easy when it is out in the garden for you to water the plant too, as you simply unscrew the lid and water the plant! Talk about repurposing (;

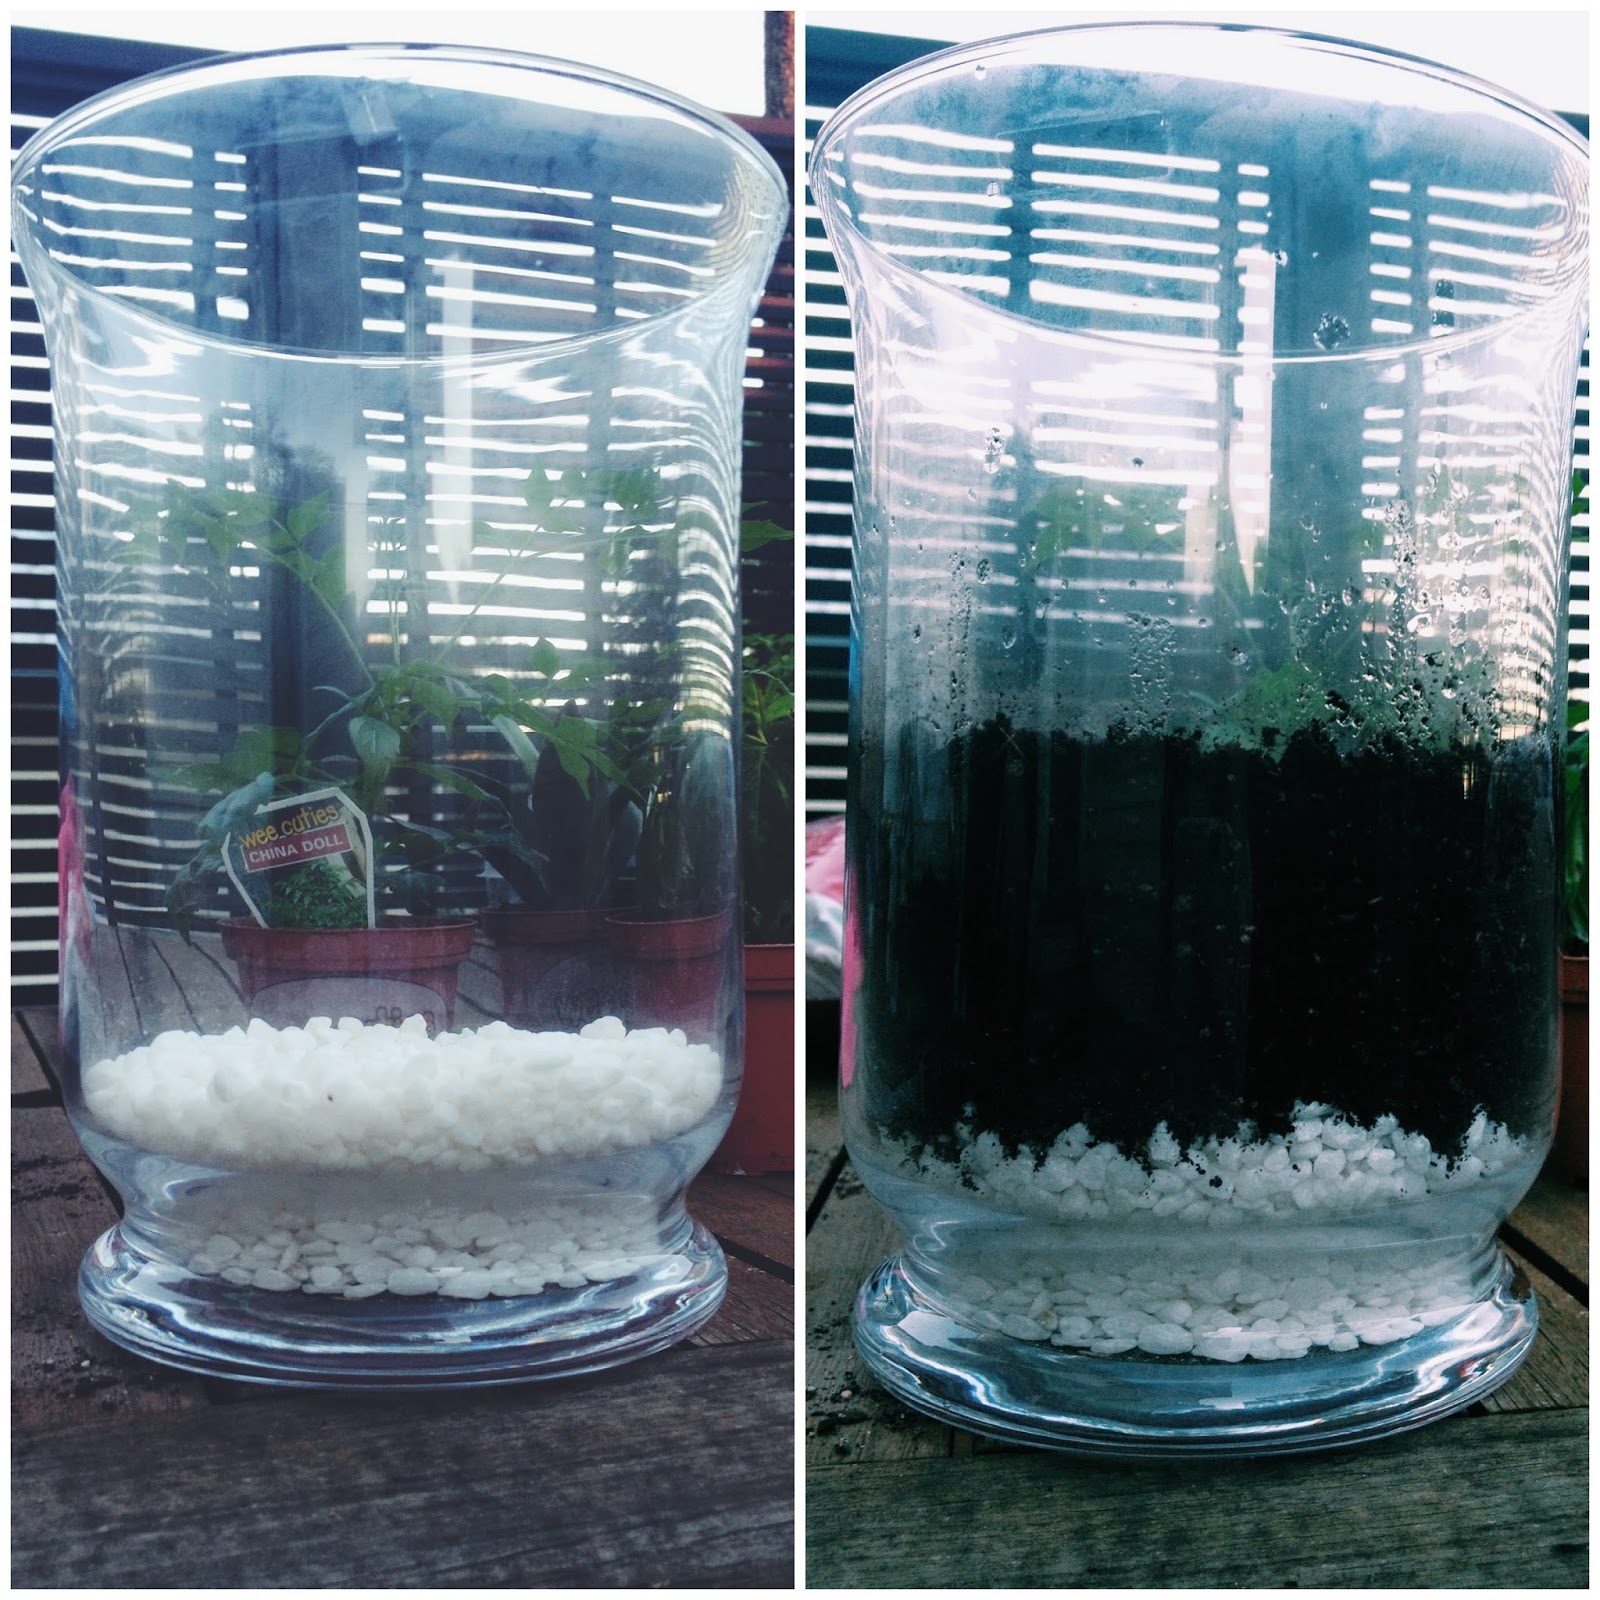
Now I'm going to teach you about a little problem you may have encountered if you grow your seedlings inside. Mold. It is not nice. It starts out like little white fluffy spots on the top of the soil, and can spread across the whole top of you soil. It won't really affect your plants, but its preferable to not have this! This mold is caused from either over-watering or from your plants not having enough air circulation around them.

The great news is that it is super easy to get rid of the mold. You have a few options for treating the mold:
  • Sprinkle a little bit of cinnamon on top of the soil (it actually does work)
  • Place a fan near your plants to increase circulation
  • Or, simply remove the layer of mold and make sure you aren't over-watering your seeds


Mold starting to grow on the soil of a seedling

Now that your plants are starting to grow and you know how to get rid of any mold that may start to sprout, here is an ingenious tip that when I got told about this I thought it was brilliant. Its so simple, but makes so much sense!

When you plant your seeds, no doubt you plant a couple of seeds in each little pot, and if you don't, then start doing it!! What will happen when you start growing these seeds, and the plants germinate and start sprouting, you will have a couple of shoots. Once these shoots have sprouted their true leaves (when your seeds sprout, they will start out with two leaves right opposite each other, as the plant starts to grow and develop, other leaves will start to grow which look more like the leaves that the plants end up with - hence the name, true leaves) you are ready to use this trick!

True leaves - sourced from about.com
Grab your scissors, and cut at the base of the stem of any "extra" plants that you have grown. Choose to keep the ones that look like they are doing really well! I know what you're thinking, because I thought this too "what a waste, I will just plant all the shoots". Well by all means, go for it! However, what changed my mind was the justification behind doing this. When you try to separate the shoots, you can actually damage the roots of both plants, as they will no doubt be connected. Its actually better to sacrifice one plant then lose two! Then once the plant is a little more established you can move your plant out to the garden! It is super important to make sure that once the true leaves have started to grow that your plants are being fed and getting enough nutrients! But I'm sure you already could guess that!


How great were these extra tips?! I know that these tips totally changed my seed growing experience! I hope they help you out! Let me know if you have any sneaky tips that I could use when growing seeds! Sharing is caring :D

Sunday, 1 September 2013

Composting

Composting the garden is something that all gardeners do at some stage. however, making your own compost is something that many people steer clear of. Not because it is difficult or hard to do, but more that it takes patience and a little bit of a recipe. Composting is such a key part of gardening. It is so cool, and so important to return back to the garden, what has come from the garden. Its kinda like the circle of gardening life! If you need any more convincing about why you should compost then think about things like you're recycling, you're putting back into the earth what your plants have eaten up (nutrients), its free (once you have a container), it is rewarding and the thing that makes me so convinced composting is a good idea, is that you know exactly what is going into your garden! You decide what chemicals are going into your food, and I like to choose no chemicals! So I see composting as a win-win for all parties involved (me, the garden and my family).

Composting the garden is so important! Adding nutrients back into the soil is essential!

So how do you compost?! Well you have probably all seen the classic composting bins. The big, black plastic things? I have one of those! I didn't buy it, but it was just left at our property and had been used as a rubbish bin. Yummy. Not! So I converted this back into a compost bin. You can go out and buy one of these bins to make your compost in, or you can make your own compost bin, simply by creating four waist height walls to make a little box. This can be made out of recycled wood, corrugated iron, or anything else that you can think of that will make your very own compost bin. Just make sure that you will be able to manage the compost, as you will be turning it. Make sure that your compost bin is on bare earth, or straight on soil, as this way, the compost ingredients will be able to break down.

My compost bin!

Now you know what you can compost in, you need to know exactly what you can and CAN'T compost. As often this is what trips some people up.

There are two essential ingredients to compost and you want to balance these 50/50. Green ingredients and brown ingredients. Or nitrogen and carbon. Or kitchen or garden ingredients. Simple? Still kinda confusing huh?

But I'll make it easier to understand, as once you know, its so easy!

Brown ingredients, or kitchen ingredients include things like:
  • Fruit and vegetable scraps
  • Egg shells
  • Coffee grounds
  • Tea bags
  • Egg cartons
  • Shredded toilet paper rolls or cardboard that does not have any ink or dye in them
You can collect these "ingredients" in a bucket with a lid that you keep in your kitchen, until the the bucket is full. The lid is super important as this helps stop the stink. 


Green ingredients, or garden ingredients!
The second part of composting is,
Green ingredients, or garden ingredients and this includes things such as:

  • Lawn clippings
  • Weeds that haven't flowered
  • Any plants that have been thinned out when sown in groups
  • Dead leaves
  • Wood chips and saw dust from untreated timber
  • Seaweed
  • Pruned leaves
Other things that can be added, but aren't essential are:
  • Manure (cow, horse, sheep, chicken)
  • Garden lime (limestone)
  • Drier lint (natural fibres preferably)
  • Soil
But don't include:
  • Meat
  • Fish
  • Cheese
  • Bones
  • Dog or cat waste (as there can be worms)
These will attract rats or other nasty things to your compost due to the smell, or won't break down as quickly as the other ingredients.

Unfortunately, composting isn't as simple as chucking everything in a bin and hoping it'll decompose. There are a few tricks that are super easy to learn though, that will ensure your compost works well!

So here are my simple steps to creating your compost:
1. Ensure your compost bin is in the place that you want it to be (a sunny spot, but away from a living area because it may smell a little)
2. If you have any sticks or straw, lay this down first, as it will help with air circulation and drainage.
3. Try to alternate layers of green and brown, or kitchen and garden. As this will help with moisture control. However, if you aren't adding enough to create a "layer", just make sure that you are adding roughly 50/50 of each type of ingredient at each time.
4. Keep the compost moist. Rain will help to do this, but if it doesn't rain, you may want to give it a bit of water. Just keep an eye on the moisture content as you don't want it to get dry.
5. Keep your compost covered. This will help to keep the moisture in, and prevent it from getting too wet. If you have a compost bin like I do, the lid is perfect, however if you have made your own compost bin, using a sheet of roofing iron, or a tarpaulin, or even old carpet would work!
6. The final important tip is turn your compost! This really helps to encourage the compost to break down as it mixes everything together and exposes oxygen to the compost. And oxygen is super important in helping the compost to break down. This only needs to be done every week, but you can turn it more if you would like. Its such a good work out! And sometimes I get my hubby to do it as my arms get too tired! Hehe (:


Turn the compost once a week to expose the ingredients to oxygen

In six to eight weeks you should have a beautiful compost that can be added back into the garden! You might find worms in your compost and this is a good thing! It shows that your compost is nutritious!

Just give composting a go! Please! Once you start you will find it so simple and easy to do! If you have any questions just ask away (:

Happy composting!!!

Monday, 1 July 2013

How to build a TERRARIUM

Terrariums are such a cool way to to bring plants inside, but also get people who might not be so keen on gardening, doing a little gardening! The terrarium trend is really sweeping florists at the moment, but you could pay a lot for something that is so much fun and so easy to make! They make great gifts and cool weekend projects. So here is my guide on how to make a terrarium!


To create your terrarium masterpiece, you will need:
-a glass bowl or container (can have a lid or be open)
-potting mix
-stones
-sand (if using a closed container)
-moss (can be sheet moss but I used sphagnum moss)
-small plants or succulents
-little plastic toys or decorative things


Having little plants is an important part of growing a terrarium. Plants can be trimmed and pruned while growing, but you don't want to have like a normal sized house plant being crammed into your small terrarium! You should be able to find small plants at your local garden centre or you can use succulents. But collect a variety of different colors and shapes. Having around two or three plants will be the most striking in your terrarium, but if you have a bigger one, then go crazy!


To begin with, make sure your container is clean and dry. You can use a recycled or repurposed container. But ensure it is cleaned with a mild soap and warm water first. Put a small layer of stones at the bottom. This will help with drainage, but also looks really nice. You can use any kind of stones that you like! Then on top of the stones, put your mixture of damp soil and sand (if you are using sand) and pat down gently.

Put the soil in carefully so as to keep the glass clean and not to mess up your pretty stones! Once your soil is in, just like as you do in the big garden create a small hole to put your plants in. Terrariums are about being creative, so just make it look however you want to! Once the plants are in pat the soil down firmly around the plant bases. I found that I needed to add a bit more soil, but you don't need to if you don't think you need to!


Once the your plants are in, put the moss down around the plants. This helps to maintain the moisture in the soil. As your terrarium grows the plants should be misted with water, rather than typical old fashioned water-can watering. If you terrarium has a lid, condensation will form on the sides of the glass. This creates a humid environment for the plants to grow in. If you are using succulents however, you may want to have an open terrarium as the conditions are better when they are open and the plants will have better lives! Sphagnum moss starts out browner when it is bought, but as it is kept moist, it changes to a green color which looks great in the environment.


The final stage of terrarium creation is putting in decorations. This stage can be skipped, but really anything can be put in. Shells, toys, beach glass. Whatever you like! We used dinosaurs, as this is the only way I could convince my husband to mini garden with me!


And voila! Your terrarium is complete! Keep an eye out for yellowing leaves, as this will mean something is wrong in your terrarium environment. If you have a closed terrarium, you won't need to water the plants as frequently, but the terrarium will occasionally need to be aired out. Water plants gently with a mister or spray bottle and enjoy your beautiful creation!


Friday, 5 April 2013

My "Making Use of a Small Space" Garden

You're not always going to be able to live at a house that has land for you to establish your vegetable garden presence. So sometimes you just have to get creative, and use whatever space you can. Although I do have space for a vegetable garden, I do also have my patio/kitchen garden that I love.

I love it because I can look at it all the time if I want. I can easily pop out and get some vegetables, pick a couple of herbs to add to dinner, or even just easily water and tend it (as my main veggie garden is up a little hill). There is something so beautiful and creative about turning any little space you have into a garden. 

Have you heard of Guerilla Gardening? Google it. But basically, do it to your own place.

And I have some handy little tips to help you turn whatever dull, small, empty space into a thriving GARDEN.

Tip #1
Try to get some sunshine, (or light and warmth) onto your precious babies. This will help them to be the plants you dream they could be. Without getting technical, pretty much all plants need some light and warmth, so if you don't have the real stuff, then fake it some how!

Tip #2
Use whatever you can to plant in. This isn't really a tip, but I'm pretty much saying, you can make everything uniform in matching pots (very pretty), or you can mix and match whatever you have and whatever you can AFFORD. You may have heard the fancy term "repurposing". Its very fashionable and you can do it! I use mixes of old planter boxes, big plastic pots, little pots that some seedlings came in, as well as glass jars, little buckets, empty soup cans. You name it. If you can put soil in it, you can grow something in it. Go wild. And have fun. Just make sure there is some drainage (holes in the bottom).


Tip #3
Nourish your plants. As you will be planting in boxes or pots, your plants don't have the opportunity to gather nutrients from the surrounding soil as much as their counterparts out in the big wide world of the ground. This nourishment factor is so easy to over look, as we are so used to house plants, that you just water and leave, then water every so often. But your vegetables need your love. When you are planting your plants, use a really good quality organic soil or compost. As this will be the foundation for your plants long and healthy life. And make sure that they are being watered adequately, as often water can drain straight out the bottom of the plant, and not reach all the soil it needs to. And this leads to the next tip...

Tip #4
Feed your plants! Plant food, compost, whatever you want! BUT JUST FEED YOUR PLANTS! There isn't a lot of soil in those pots, and the plants need a lot of nutrients to grow! I like to use and organic (liquid) plant food, that I treat my plants to every one or two weeks depending on how well they are growing, or what they are (heavy fruiting plants need more than leafy plants). I grow strawberries on my patio, and I make sure that they get strawberry food (its a real thing!), as this helps them to grow, even in the small pots.


Tip #5
Plant things that you wouldn't plant in your big garden. For example, in my kitchen garden, I grow wheatgrass, because it works better in a tray, and its good for it to be nice and easy on hand. Get creative and think outside the (planter) box.


Tip #6
Plant "cut and come again" plants. These are plants that you literally take a couple of leaves off, and then you can come back to them again later and take a few more leaves off. You don't have to harvest the whole thing at once. In my small garden, I like to plant lettuces, spinach, kale and swiss chard, as they are fast growing, but they are also very handy and useful plants in terms of eating. 


Tip #7
Have a few flowers in your small potted garden. Having some flowers will help to attract the good bugs, and may even help to keep the bad ones away (depending on what you plant). It is very important to make sure that your little garden (or big) is getting pollinated, and if no bees do it, make sure that you do it for the plant (depending on what plant it is!) because that is important in the growing stage for some plants!

Tip #8
Move your plants around. For two reasons. The first reason is to create companion planting. Putting some plants next to others is a good thing (for example tomatoes and basil), they enhance one anothers flavour while growing, whereas putting tomato and cabbage next to one another is bad and stunts growth. So move those babies around to get the best possible growing happening. Secondly, move them around to get the best sunshine for the plant. If you are like me, your planting area isn't in the sun all the time, so move those babies around a couple of days a week so that they can soak up some nice rays. They will thank you for it in beautiful vegetables.


Tip #9
Start small, and increase. You don't need to have 50 pots of varying varieties of vegetables the first day of your garden. I started with two pots, and slowly but surely I kept adding and collecting, and now I have many random containers, and some random plants. If you start small, its easier for you to manage, and make sure that those vegetables are getting the love they deserve. Add a few more to your collection every couple of weeks or so. This leads to the final tip...

Tip #10
You can increase the container size if you want. Say you planted a tomato plant in a small pot, but now it seems that it is just getting too big for that pot, well never fear, buy a slightly bigger (or much bigger if you are super keen) container, and just move your little friend into a bigger home. Plants will only grow until their roots can't grow no more, so the bigger the space for roots, the bigger your plant will be. And once you've moved that plant into a bigger container, you have a spare container to start something else in. Its like the circle of life. Only different.

But most importantly HAVE FUN!! And remember, you are only limited by your imagination, so get out there are get creating your own little piece of vegetable paradise.

Friday, 15 March 2013

Organising Your Seed Packets!

Even gardeners need to be organised. And I found the best way to be organised, so that I am planting seeds at the right time of the year/I don't lose any of my seed packets! Let me let you in on my secret!


I took an old photo album, and organised my seed packets first of all by which month they are planted in, and then within that alphabetically! WOAH!!! SO CRAZY!!! Hahaha. So find out in your area when the best time to plant certain seeds is. If you prefer to organise it into four seasons, then thats all good! But I like this way, because then I can be like "oh hey, its March, what is there for me to plant this month?" instead of being like, "oh dang, its March, its too late for me to plant rockmelons!"


So enjoy organising your seeds in a way that is also easy to store, and is accessible! I just keep mine in my bookshelf so I see it too! Yay!

Monday, 11 February 2013

Making a raised flower bed

So today, we killed two birds with one stone. Or rather, cinder blocks (hehe). We had an old incinerator  next to our veggie garden that was a) ugly, b) stopping us from extending our veggie garden and c) made of bricks. Which was great because a) I wanted more planting space, b) I wanted to get rid of the incinerator and c) I didn't wanna spend a lot of money!

So here is my guide on how to build a cheap raised garden (even if you don't have an incinerator you wanna get rid of)!


1. Mark out the space that you want to create your raised garden in! To start with we laid out left over stakes from the tomatoes. These were easy to move around and gave us a good visual representation of how big, and how practical the garden was going to be.
2. Assemble the materials. You'll need a spade, some soil and some organic compost, and the bricks/rocks that you are going to use to make the garden.
3. Using the spade, cut into the ground, to mark out the space.
4. Dig a slight trench into the ground about the width of the bricks, so that they can sit easily in the ground, while being level, and not tipping over.
5. Dig up the grass or dig over the soil that is the base of the raised garden at the moment.
6. Place the bricks in the ground, and then fill the garden with soil and compost until the bricks are firmly in the ground. Packing the soil round the bricks, while moistening it helps to do this!
7. The bricks I used had holes in the top of them, so I filled these with soil to create extra weight, and so that flowers can grow in them too! You can do this too if the bricks have space, or otherwise just skip it!
8. Water the garden until the compost and soil is moist.
9. Plant whatever seeds or seedlings you would like. I am turning mine into a flower bed, so I planted a mixture of flower seeds!
10. Water well and enjoy your new raised garden!


P.S. It doesn't need to look pretty, cos once the plants are growing, its going to look amazing!!