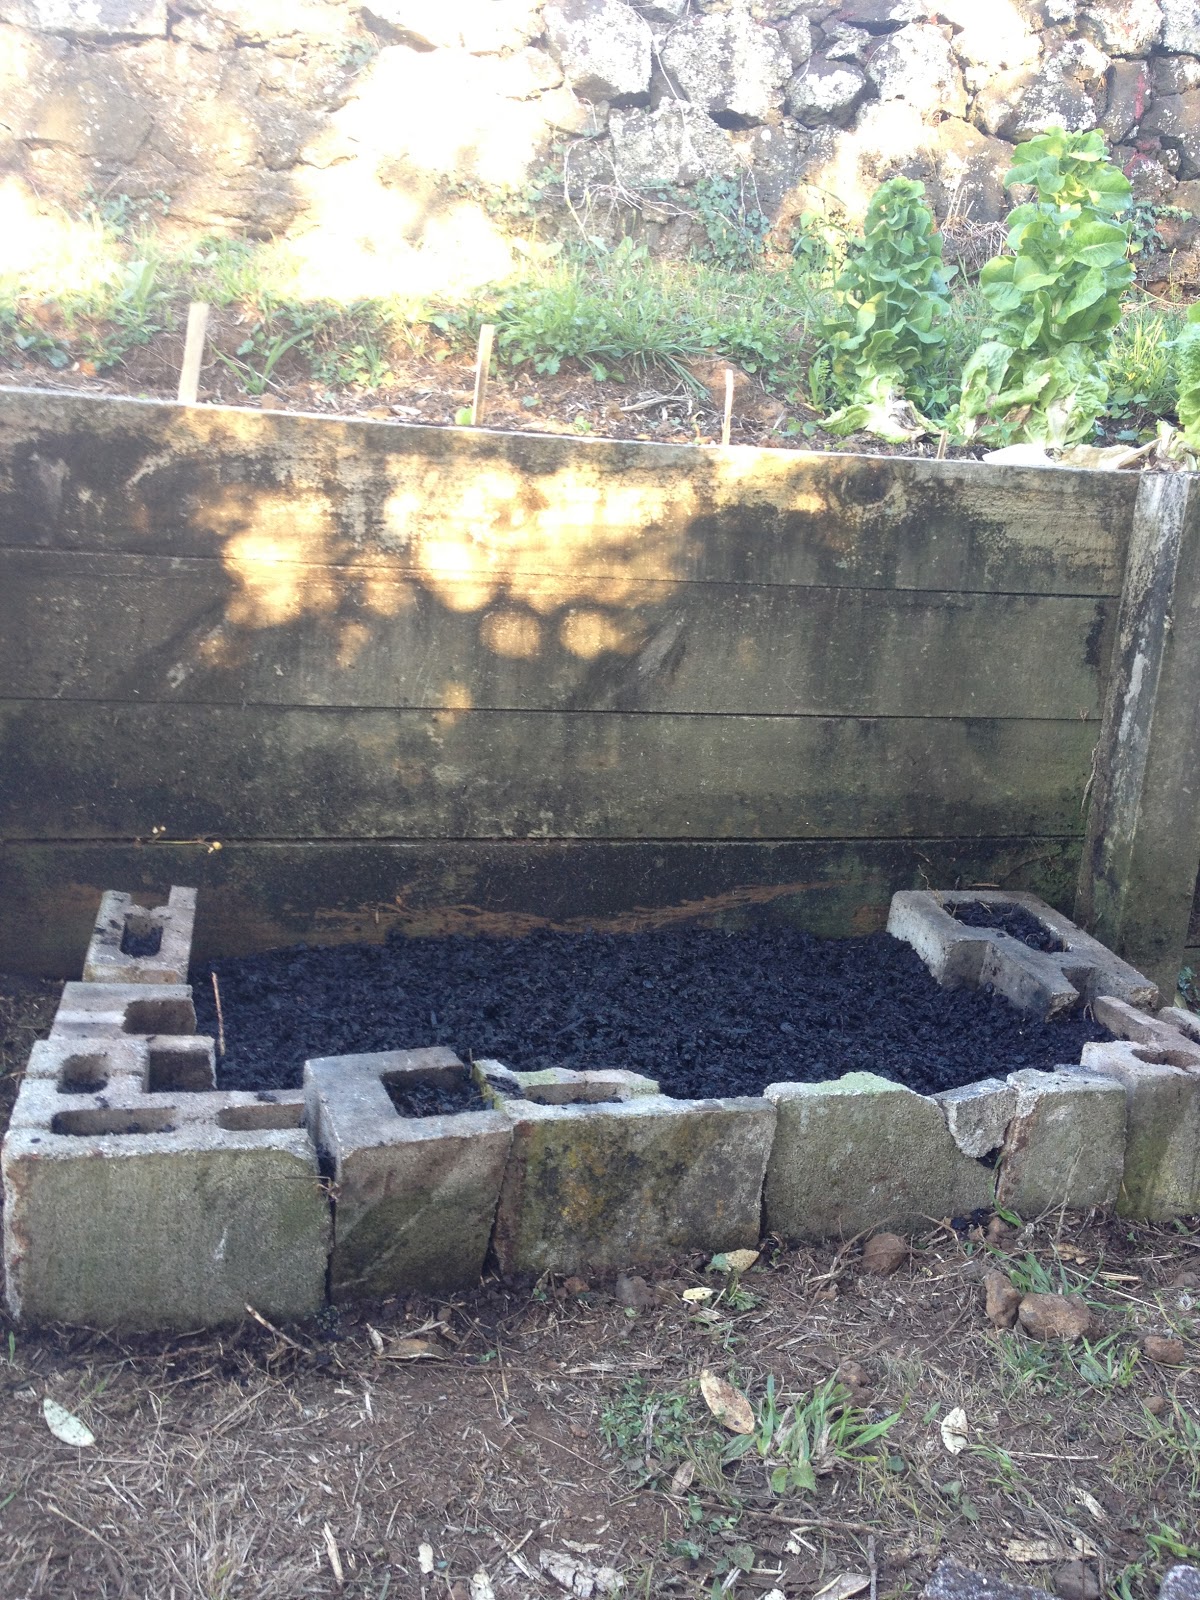
So today, we killed two birds with one stone. Or rather, cinder blocks (hehe). We had an old incinerator next to our veggie garden that was a) ugly, b) stopping us from extending our veggie garden and c) made of bricks. Which was great because a) I wanted more planting space, b) I wanted to get rid of the incinerator and c) I didn't wanna spend a lot of money!
So here is my guide on how to build a cheap raised garden (even if you don't have an incinerator you wanna get rid of)!
1. Mark out the space that you want to create your raised garden in! To start with we laid out left over stakes from the tomatoes. These were easy to move around and gave us a good visual representation of how big, and how practical the garden was going to be.
2. Assemble the materials. You'll need a spade, some soil and some organic compost, and the bricks/rocks that you are going to use to make the garden.
3. Using the spade, cut into the ground, to mark out the space.
4. Dig a slight trench into the ground about the width of the bricks, so that they can sit easily in the ground, while being level, and not tipping over.
5. Dig up the grass or dig over the soil that is the base of the raised garden at the moment.
6. Place the bricks in the ground, and then fill the garden with soil and compost until the bricks are firmly in the ground. Packing the soil round the bricks, while moistening it helps to do this!
7. The bricks I used had holes in the top of them, so I filled these with soil to create extra weight, and so that flowers can grow in them too! You can do this too if the bricks have space, or otherwise just skip it!
8. Water the garden until the compost and soil is moist.
9. Plant whatever seeds or seedlings you would like. I am turning mine into a flower bed, so I planted a mixture of flower seeds!
10. Water well and enjoy your new raised garden!
P.S. It doesn't need to look pretty, cos once the plants are growing, its going to look amazing!!